Hot Commercial LED Lighting Categories
BBIER®, Professional Commercial LED Lighting Manufacturer & Company & Supplier & Factory, Supplying LED Post Top Lights, Solar Post Top Lights, LED Grow Lights, Explosion Proof Lights, LED Stadium Lights, Temporary Work Lights, UFO High Bay Lights, LED Shoebox Lights, etc. We have over 13 years of commercial lighting R&D experience, 50+ LED lights patents, 200+ LED Lights Certifications, Support OEM & ODM, 5 Years Warranty.


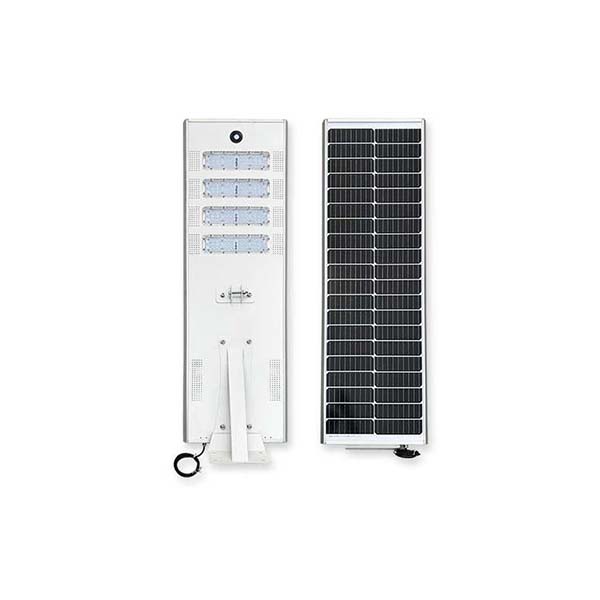
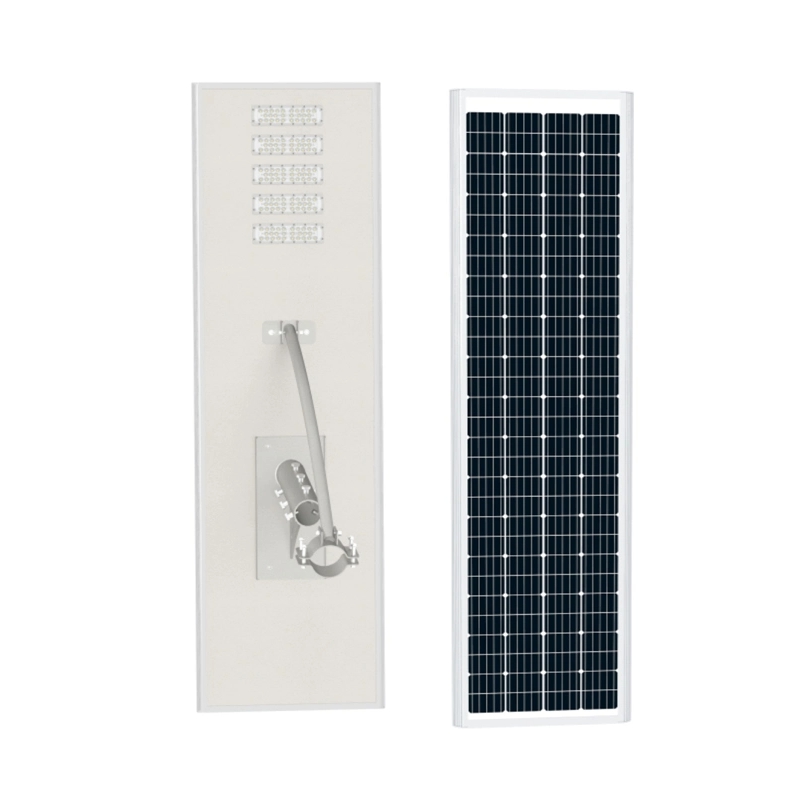
100 Watt Led Solar Street Lamp 16000lm CE ROHS IP65 for Highway
100W 2700K-6700K IP65
1 Pcs (Min. Order)
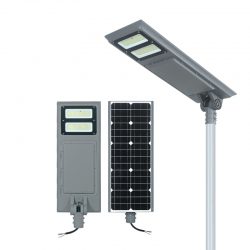
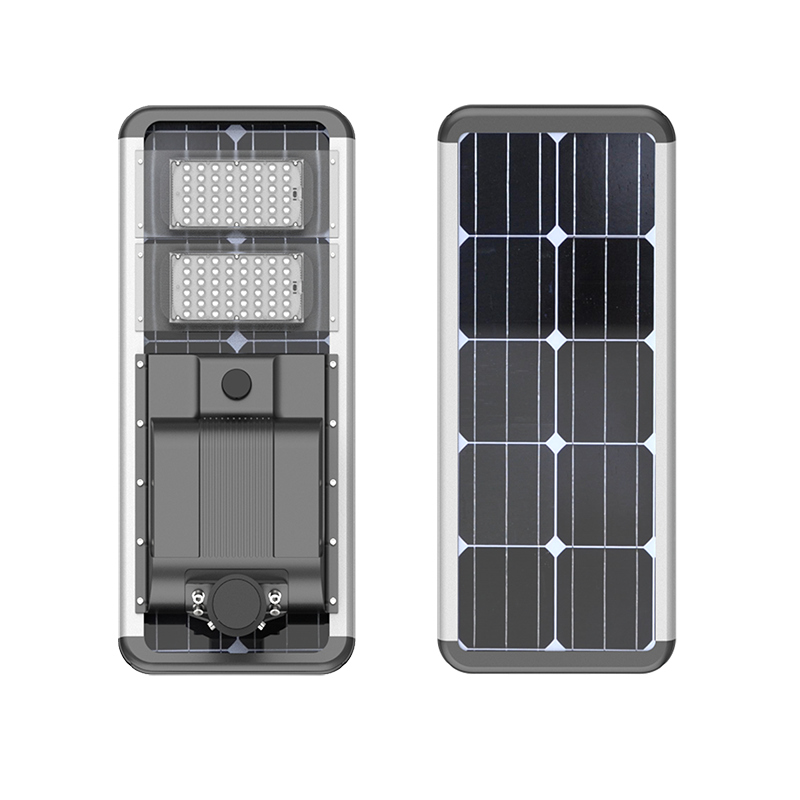
Solar-Eletricity Hybrid LED Street Lights 150W Ac Dc Hybrid Solar Street Lights
150W 2700K-6700K IP65
1 Pcs (Min. Order)
LED Dock Lights
Fully customizable LED Dock Lights products with dedicated services from our experts.
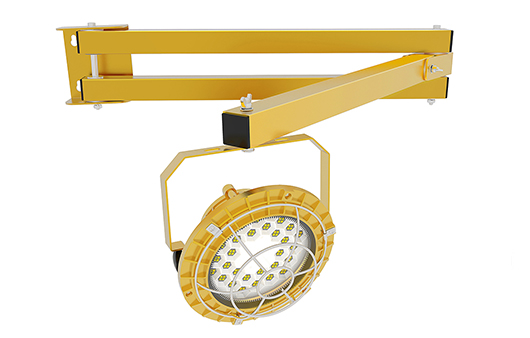
Flexible Arm Led Dock Lights 5W 10W Easy Bended 360°
5W 10W 2700K-6700K IP65
/ Wholesales
10 Pcs (Min. Order)
Solar LED Dock Lights 50W IP65 5500LM with 5 Year Warranty
50W 2700K-6700K IP65
/ Wholesales
10 Pcs (Min. Order)
Flexible Arm Led Dock Lights 5W 10W Easy Bended 360°
5W 10W 2700K-6700K IP65
/ Wholesales
10 Pcs (Min. Order)
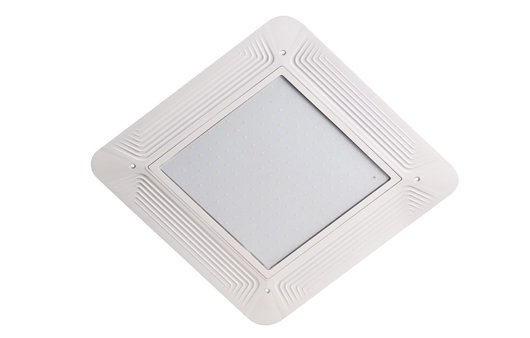
LED Loading Dock Lights 50W IP65 5,500LM with Hot Sell
50W 2700K-6700K IP65
/ Wholesales
10 Pcs (Min. Order)
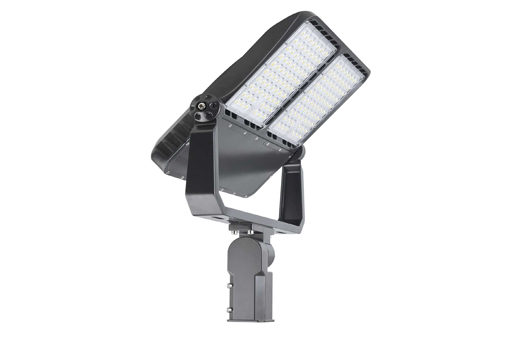
LED Flood Lights
Fully customizable LED Flood Lights products with dedicated services from our experts.
200W LED Flood Light IP65 LED Flood Lamps Outdoor
200W 2700K-6700K IP65
/ Wholesales
1 Pcs (Min. Order)
Temporary Work Lights/LED Balloon Lights
Fully customizable Temporary Work Lights products with dedicated services from our experts.
Temporary Led Work Lights 80W Construction String Lights
80W 2700K-6700K
/ Wholesales
2 Pcs (Min. Order)
LED Balloon Lamp 150W IP65 for Road construction
150W 2700K-6700K IP65
/ Wholesales
2 Pcs (Min. Order)
Handheld Work Light 80W Temporary Lighting For Construction Sites
80W 2700K-6700K IP65
/ Wholesales
2 Pcs (Min. Order)
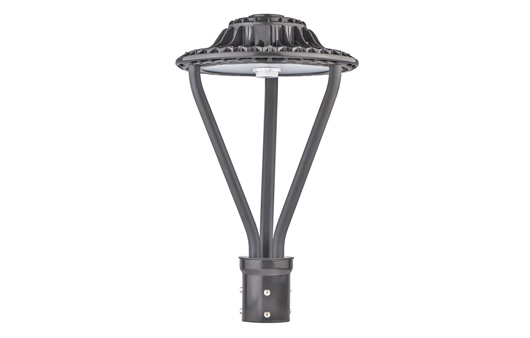
Solar Post Top Lights/LED Post Top Lights
Fully customizable Solar Post Top Lights/LED Post Top Lights products with dedicated services from our experts.
Post Top Solar Lights 25W IP65 Anti-Bird 3,750 Lumens for Walking Paths
25W 2700K-6700K IP65
/ Wholesales
5 Pcs (Min. Order)
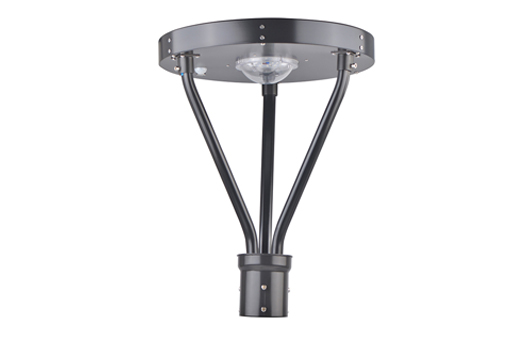
Solar Lamp Post Top 25W IP65 Bird protection 3,750 Lumens for Walking Paths
25W 2700K-6700K IP65
/ Wholesales
5 Pcs (Min. Order)
LED Pool Light Post Top 100W IP65 for Swimming Pool
100W 2700K-6700K IP65
/ Wholesales
2pcs Pcs (Min. Order)
OEM Post Top Lights 30W 50W 75W 100W 150W
30W 50W 75W 100W 150W 2700K-6700K IP67
/ Wholesales
2pcs Pcs (Min. Order)
100W Light Pole Tops for Garden Parks IP65 Post Top Lights Outdoor
100W 2700K-6700K IP65
/ Wholesales
1 Pcs (Min. Order)
About Bbier
Shenzhen Bbier Lighting Co., ltd. It was founded in 2008 LED Luminaires Manufacturing Organization (Factory), Our Factory has ISO9001: 2008 Standard and Leader in Manufaturing All Series of Innovative Energy Saving Projects LED Luminaires for United States Wholesale Distributor (Importer) and Solution Company of lighting. Mainly product LED Grow Lights, UFO High Bay Lights, LED Street Lights, LED Stadium Flood Lights for Energy saving LED Company.To solution help our customer to get the Utilities. The refund more of our lamp has the ETL approval and DLC certificate...
Read MoreBbier Partners
Why Choose Bbier
13+ Years Factory Experience
Sufficient Inventory
Fast Shipping
300+ Patents & Certifications
Quality Commitment
Our Exhibitions
Blog
How to accurately choose the lighting color temperature of 2700K-6000K+ in different scenarios?
In the realm of commercial LED lighting, color temperature stands as a pivotal factor, intricately shaping the ambiance, functionality, and visual allure of any given space. It wields the power to set the mood, augment visibility, and even sway the perception of products and surroundings. Today, we embark on an exhaustive exploration of diverse color […]
06/05/2025 BbierComprehensive Guide to Commercial LED Lighting: Types, Benefits, and Applications
Lighting isn’t just about flipping a switch—it’s about setting the mood, enhancing productivity, and even promoting safety. Whether you’re looking to brighten up a warehouse, light up a parking lot, or create the perfect atmosphere in your retail space, choosing the right commercial LED lighting is key. In recent years, LED technology has completely transformed […]
04/16/2025 BbierA Comprehensive Guide to Selecting Wattage and CCT for Warehouse Lights
When it comes to lighting up your warehouse, choosing the right light fixtures isn’t just about brightness. There’s a whole science behind selecting wattage and color temperature to ensure a safe, efficient, and productive environment. Whether you’re managing a warehouse with high ceilings, large shelving, or narrow aisles, the right lighting is a game-changer. Let’s […]
04/10/2025 BbierThe Ultimate Guide to Choosing the Best LED wall pack lights
LED wall pack lights have revolutionized the way we light our homes, offices, and outdoor spaces. These versatile fixtures offer not only energy efficiency but also an impressive range of functional and aesthetic benefits. Whether you’re looking to brighten up your living room, create a warm ambiance in your garden, or enhance security around your property, […]
03/26/2025 Bbier